


Shopping Cart
There are no more items in your cart


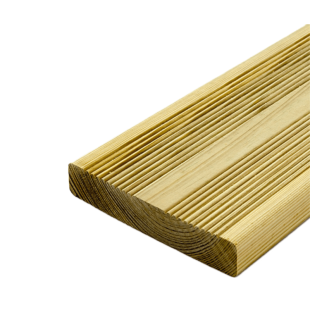
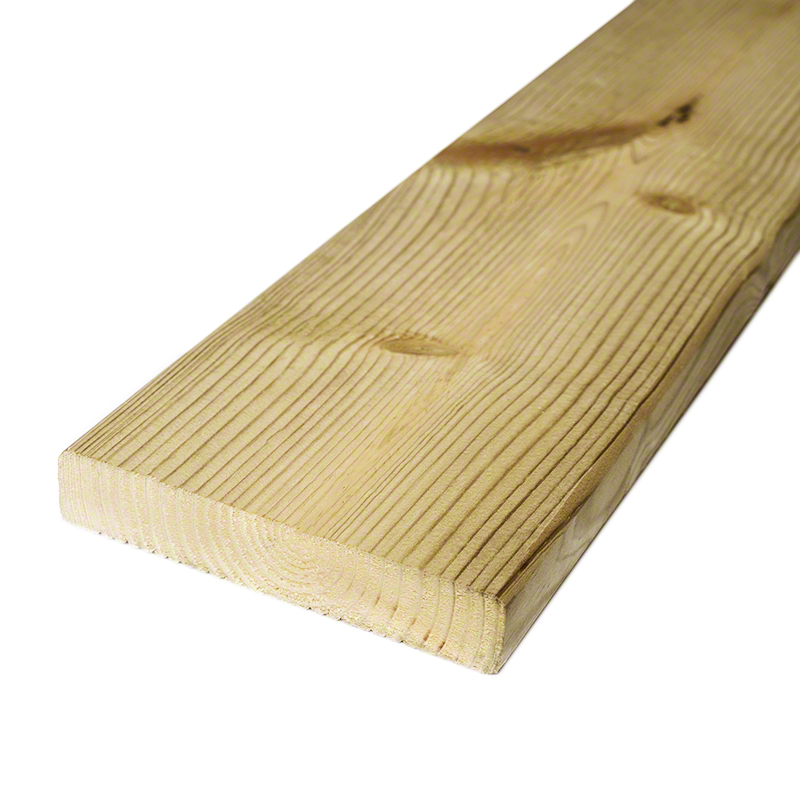
Treated Pine deck board reeded 27x145x2000 mm
PPUD27145-20
1390 PEZZI
€9.00
VAT included
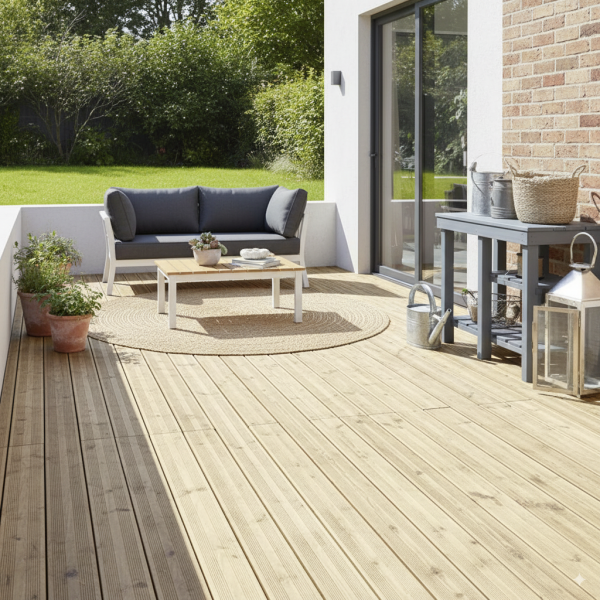
Pressure Treated Pine Decking Board 27×145×2000 mm – Class 3 Outdoor Timber Flooring
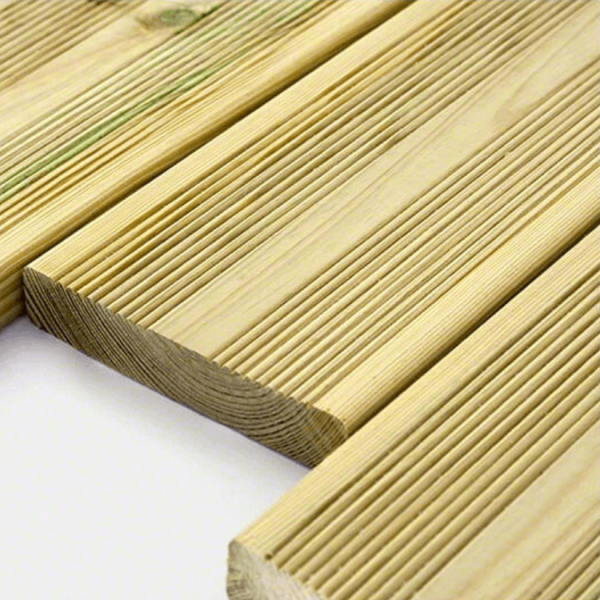
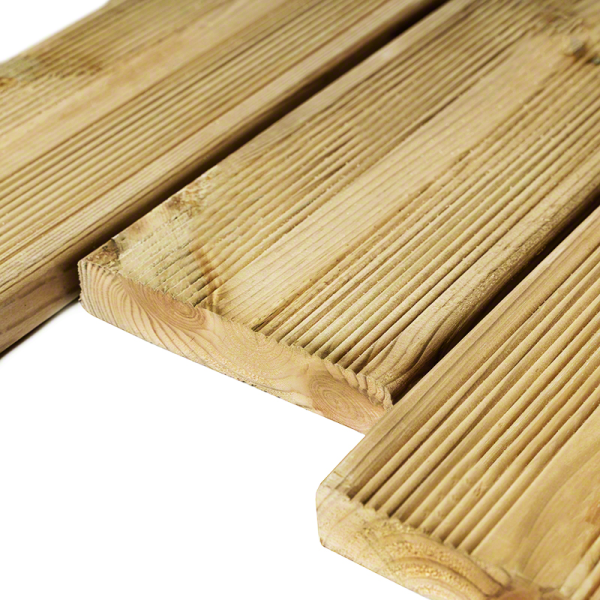
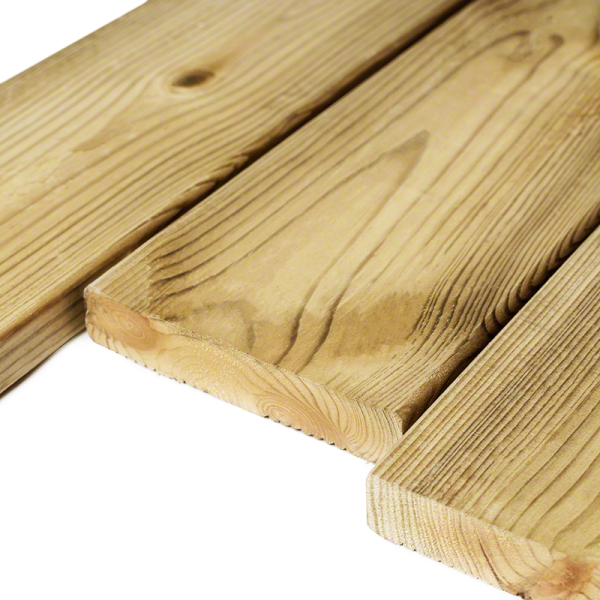
Solid pine decking board for outdoor flooring, pressure treated to Class 3 for exterior use. Designed for walkable surfaces in gardens and outdoor areas, it combines an anti-slip profile with careful machining, making it suitable for garden structures exposed to the weather.
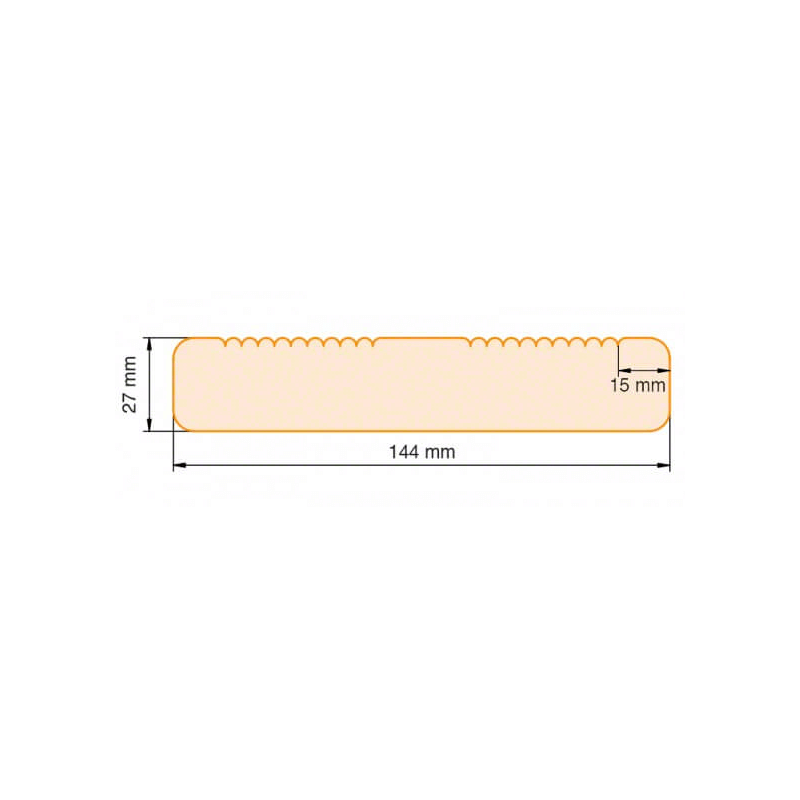
- Thickness: 2.7 cm • Width: 14.5 cm • Length: 200 cm
- Coverage per board: 0.29 m²
- Material: solid pine
- Treatment: Class 3 pressure treatment for outdoor use
- Surface: anti-slip grooved on one side, smooth on the other
- Finish: rounded edges for improved safety and comfort
- Structure: suitable for outdoor decking and walkways
- Sale: price refers to a single board
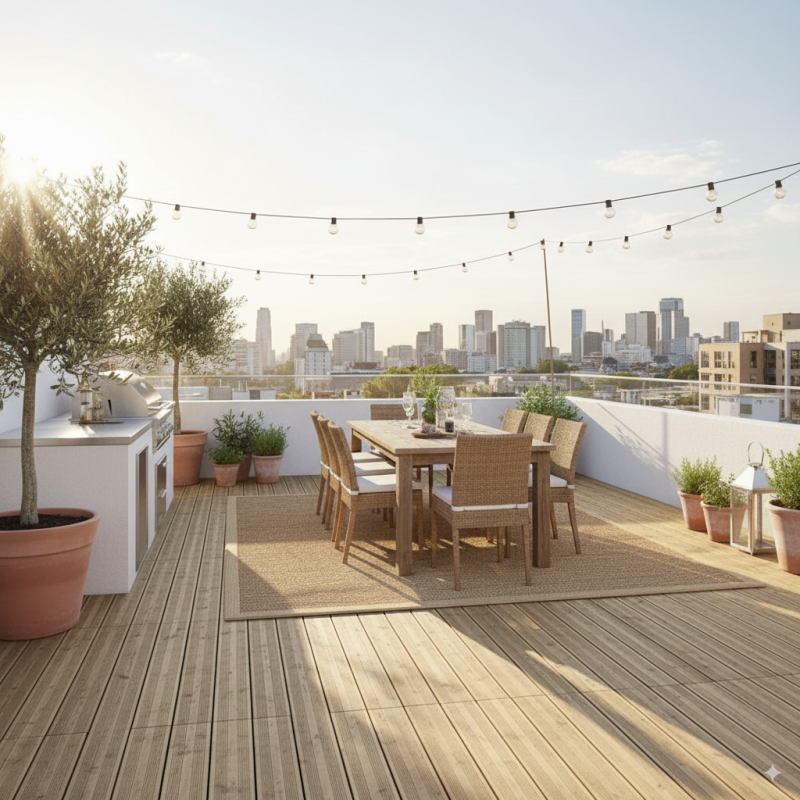
Suitable for garden timber decking, terraces and balconies, sun decks and pool surrounds, platforms for gazebos and pergolas, walkways, relaxation areas, barbecue zones, and walkable surfaces in residential outdoor spaces.
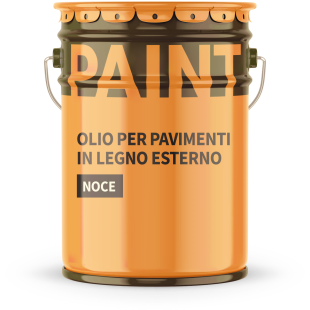
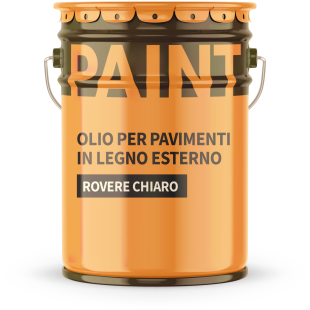
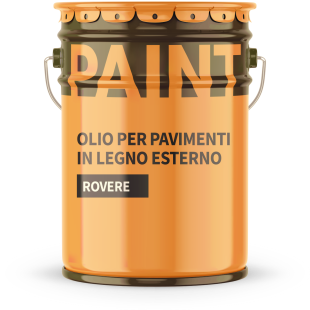
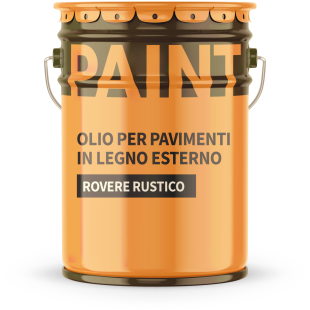
For greater visual customisation and added long-term protection, a wood stain can be applied: choose the most suitable solution in the Accessories section for a customised, durable finish.
Acquistalo in pack e risparmia!

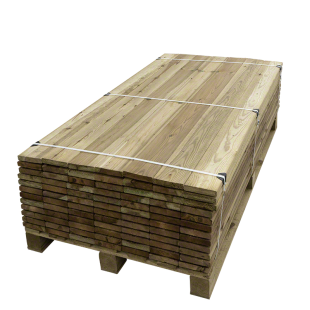
84-Piece Timber Decking Boards 27 x 145 x 2000 mm - Outdoor Flooring
84-Piece Timber Decking Boards 27 x 145 x 2000 mm - Outdoor Flooring – Pressure-Treated Pine Class 3
Supply of 84 solid pine timber decking boards, pressure-treated Class 3 for outdoor flooring. Designed for walkable surfaces, they feature one anti-slip grooved face and one smooth face, making them suitable for garden decking and outdoor structures exposed to weather conditions.
- Quantity: 84 boards
- Thickness: 27 mm • Width: 145 mm • Length: 2000 mm
- Coverage per board: 0.29 m²
- Total coverage: approx. 24.36 m² (84 boards)
- Material: solid pine
- Treatment: Class 3 pressure treatment for outdoor use
- Surface: anti-slip grooved on one side, smooth on the other
- Finish: rounded edges for improved safety and comfort
- Structure: suitable for outdoor flooring and pedestrian areas
- Sale: pack of 84 boards
Recommended for outdoor timber floors, terraces and balconies, wooden garden decking, solariums and pool surrounds, platforms for gazebos and pergolas, walkways, lounge areas, barbecue zones, and walkable surfaces in residential or professional outdoor spaces.
For greater aesthetic customisation and added protection over time, you can apply a wood preservative stain: choose the most suitable solution in the Accessories section to achieve a customised, long-lasting finish.
Hai tutto per il tuo progetto?
Scopri qui sotto se ti manca qualcosa!
PPUD27145-30
€13.49
Scontato del 10%
€12.14
VAT included

PPUD27145-24
€10.80
VAT included


PPUD27145-20PK
€683.60
VAT included

PPUD27145-30PK
€1,017.20
Scontato del 10%
€915.48
VAT included
External Wooden Flooring 27x145x200 cm - Wooden Flooring for Garden
Creating a welcoming and refined outdoor environment is possible thanks to the 2.7x14.5x200 cm outdoor wooden floor, a first choice solution for those looking for quality and resistance. This plank has a thickness of 2.7 cm, width of 14.5 cm and length of 200 cm, guaranteeing a development of the single piece equal to 0.29 square metres.
The delicately rounded corners of the wooden plank give the floor a soft and elegant appearance, reducing the risk of accidental impacts. The material used is pine, a wood renowned for its durability and ability to integrate harmoniously with the external environment. Its robustness is increased by the class 3 autoclave treatment which protects it from humidity, insects and mould.
The floor has FSC certification, a guarantee that the wood comes from forests managed responsibly and with sustainable criteria. This ecological awareness translates into a more environmentally friendly choice.
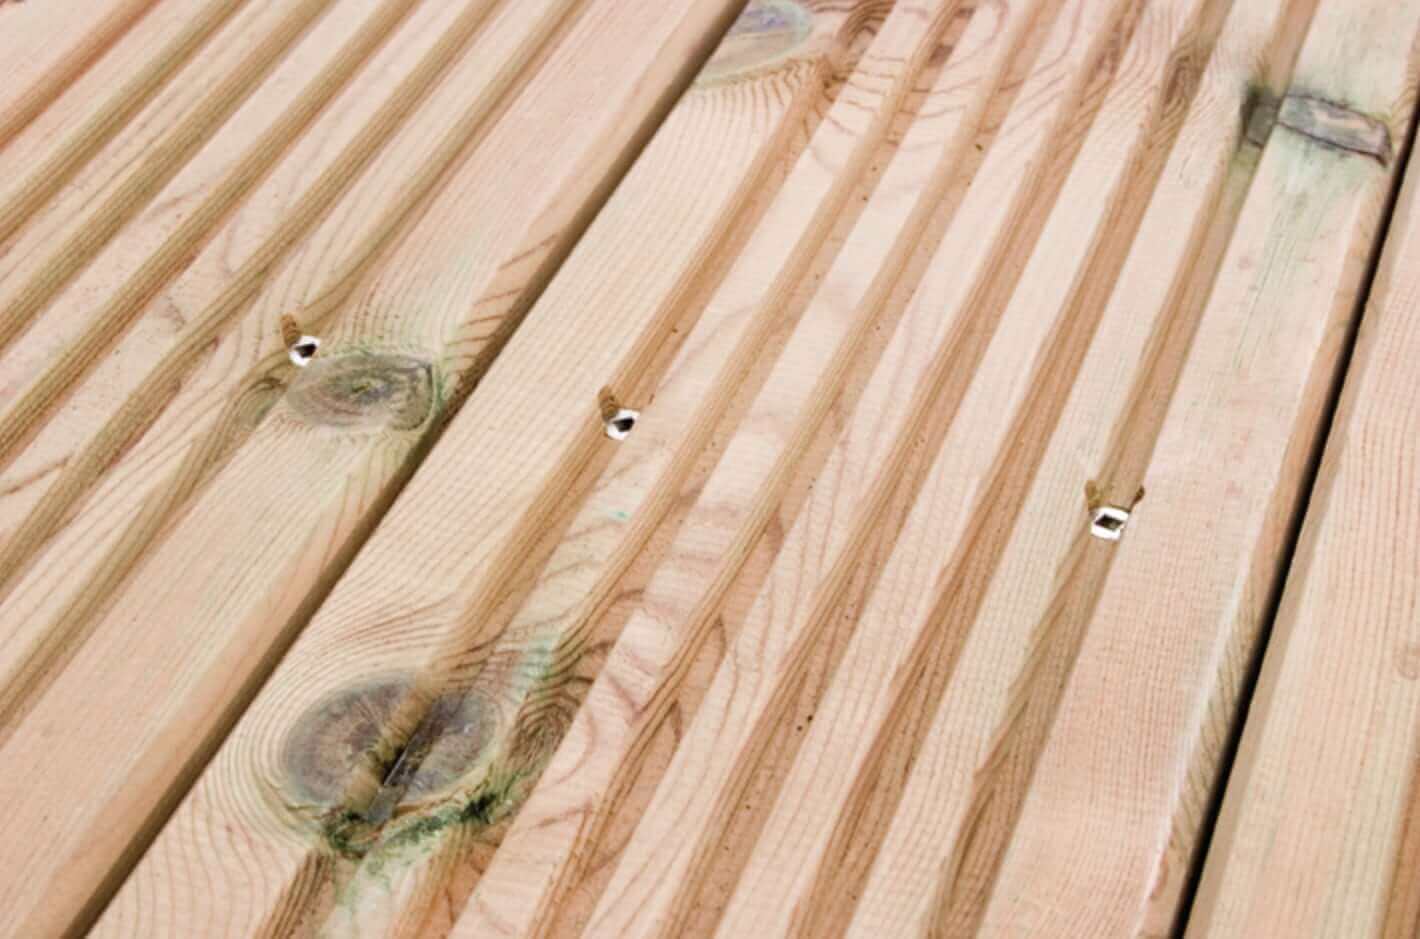
Particular attention was paid to safety: one of the sides of the plank has anti-slip knurls which make it ideal for humid or slippery areas such as pool edges or outdoor showers. The other side is smooth, allowing you to choose your favorite look or alternate sides to create diverse patterns.
The floor can be placed on terraces, balconies, verandas or gardens; It is also perfectly suited as a covering for pool edges, patios or for the creation of an external wooden platform. Furthermore, the possibility of further impregnation allows owners to customize the color of the floor with water-based impregnation according to their personal taste.
Finally, the installation of outdoor wooden flooring is accessible even to the less experienced: many DIY enthusiasts will find it simple and rewarding to carry out their own outdoor project. With this product you can transform any outdoor space into a private corner of paradise where relaxation and nature meet in perfect harmony.
Wooden Decking Installation: Detailed guide for creating outdoor wooden floors
Preparation of the substrate:
A solid and level base is essential: Wooden decking must be installed on a stable and level surface to ensure its durability and performance. Several options are suitable:
- Concrete: A concrete base offers maximum strength and stability, ideal for high-traffic areas.
- Gravel: A well-compacted gravel substrate drains well and is perfect for humid areas or rainy climates.
- Grass: If you want a more natural look, you can install decking directly onto a well-mown and compacted lawn. Make sure drainage is adequate to avoid water stagnation.
- Adjustment for elevation: If the floor is elevated, use adjustable plastic or metal supports to create a flat, stable base for the joists.
Pose:
- Load-bearing structure: The joists act as the skeleton of the floor, supporting the weight of the slats and ensuring the stability of the covering.
- Spacing: Position the joists at an even distance of approximately 40-60 cm from each other. Walk over the surface with a tight rope to ensure that the installation is perfectly parallel.
- Fixing: Anchor the joists firmly to the subfloor using plugs or screws suited to the type of base chosen (concrete) or simply resting them (gravel or grass).
Fixing method:
- Decking planks: Fix the slats directly to the joists with visible screws, pre-drilling the slats to avoid splitting. This mode exposes the screw heads on the floor surface. Fix the planks on the edges as suggested in the photo below to avoid unwanted but natural movements of the wood.
- Expansion: Leave a small expansion space (about 5-6 mm) between the slats and between the slats and the wall to avoid deformations caused by variations in temperature and humidity. Use spacer wedges to maintain correct spacing during installation.
Floor finishing:
- Cutting to size: Once all the slats have been laid, use a circular saw or jigsaw to cut the excess along the edges and near the walls, following the line of the wall.
- Aesthetic finishes: For a more finished look, you can add frames, boards or closing edges to cover the gaps between the planks and the wall, giving a more refined appearance to the floor.
Additional tips:
- Pre-drill the strips: For whatever fixing method you choose, it is recommended to pre-drill the strips before screwing in the screws to avoid splitting the wood.
- Choose appropriate screws: Use stainless steel or galvanized half-thread screws to resist weathering and prevent corrosion.
- Treatment of wood: To ensure greater durability over time, protect the decking with an outdoor wood varnish suitable for walking. It is important to impregnate the plank on all four sides to avoid deformations caused by humidity on the untreated sides. Before applying the primer it is advisable to sand, we recommend using a fine-grained abrasive sponge.
- Regular maintenance: Periodically inspect the floor and clean it with specific products to keep the wood in good condition and prolong its useful life.
By carefully following these instructions, you will be able to install your wood decking successfully, creating a beautiful, functional and long-lasting outdoor space.
Do you want to know more about treating wood in an autoclave? Read the article here
- Larghezza
- 145 mm
- Lunghezza
- 200 cm
- Spessore
- 27 mm
- Tolleranze
- +/- 5 mm
- Shipping Label
- Pavimenti in Legno

8033182950858
1390 Items
Reviews (14)

No title
Quality
Imballaggio
Il cliente non ha lasciato alcun commento.
By DANIELE M. the 2025-12-10
Report an abuse
No title
Quality
Imballaggio
Legno di ottima qualità, spedizione eccellente.
By Francesco R. the 2025-12-03
Report an abuse
ottimi alla vista e all'utilizzo. Imballati egregiamente
Quality
Imballaggio
Il cliente non ha lasciato alcun commento.
By Pio F. the 2025-10-06
Report an abuse
No title
Quality
Imballaggio
Il cliente non ha lasciato alcun commento.
By Domenico P. the 2025-09-20
Report an abuse
No title
Quality
Imballaggio
Il cliente non ha lasciato alcun commento.
By Francesco G. the 2025-07-21
Report an abuse
Be the first to ask a question about this product!
Tap to zoom

